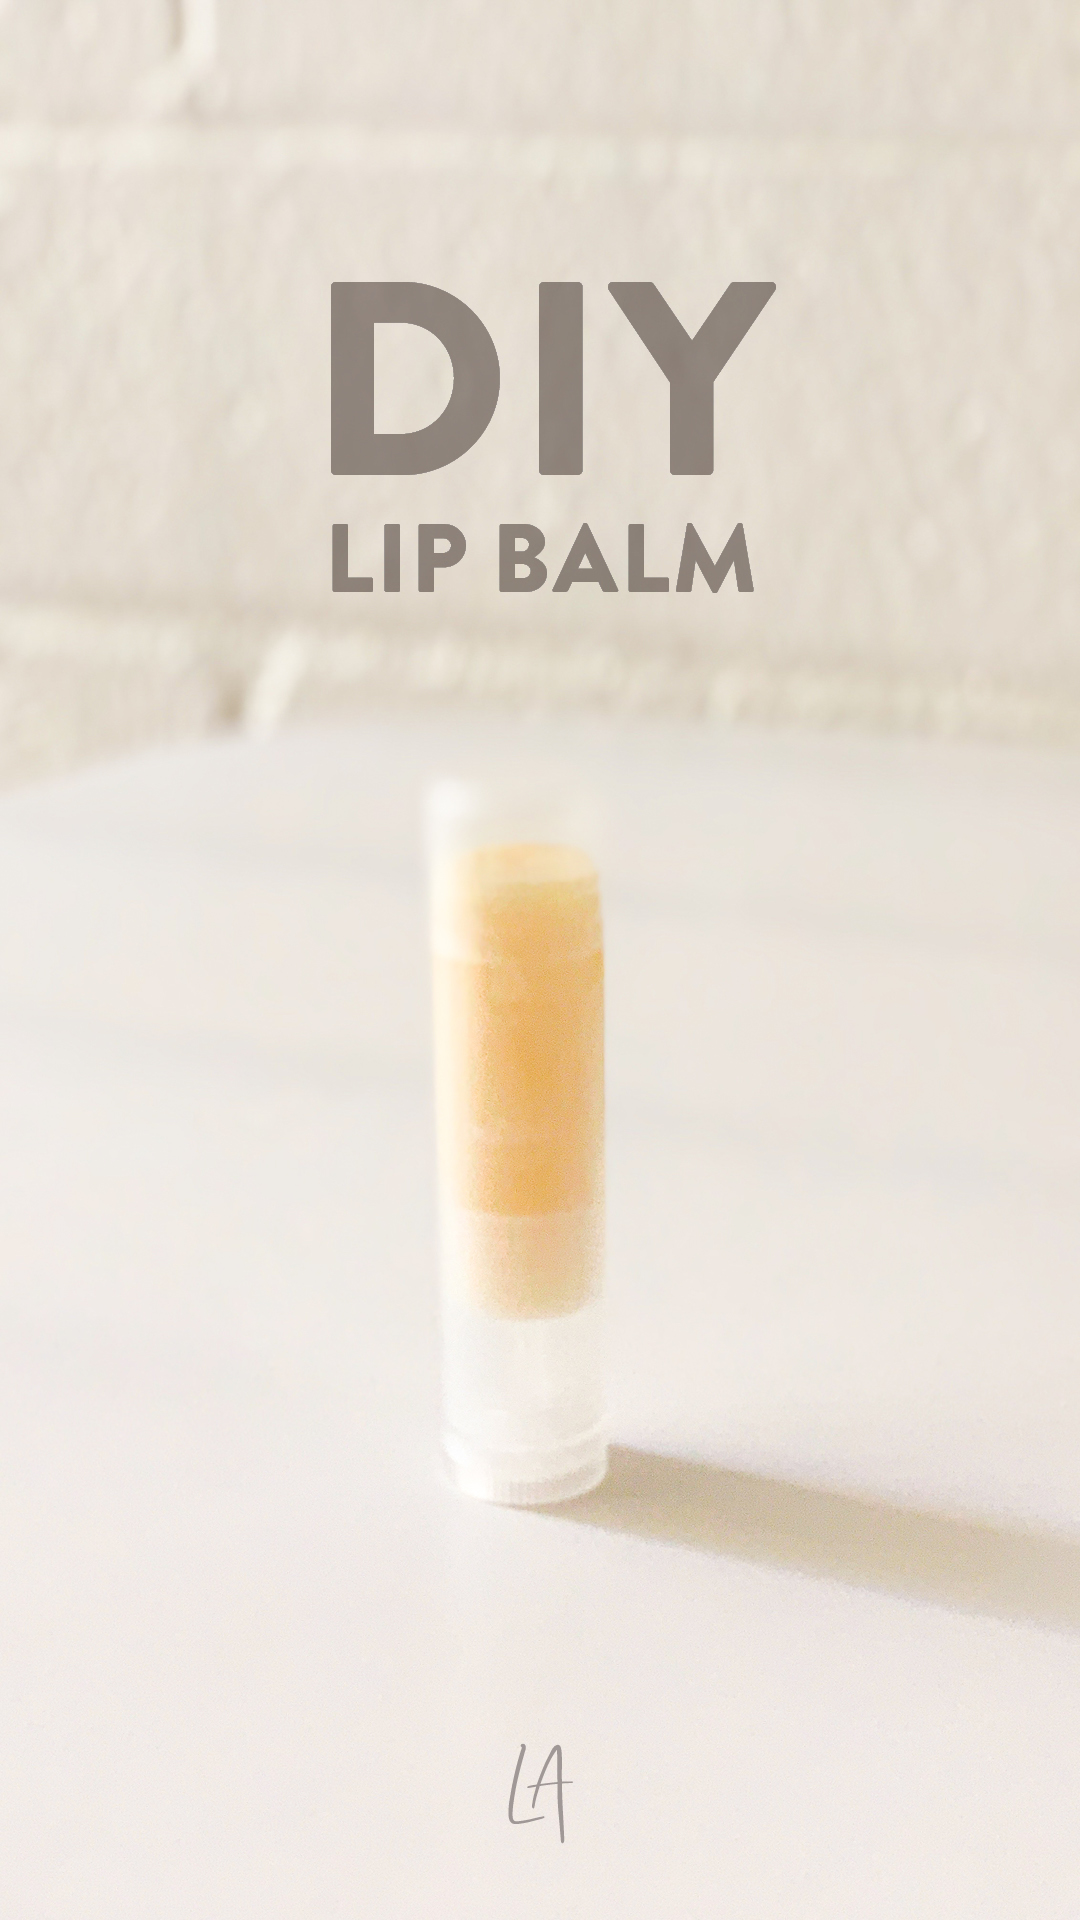
I had no idea how easy it was to make my own lip balm at home. I also have extremely sensitive skins, and so I love that I have the ability to customize my lip balm to include precisely what I want, and nothing I don’t (beeswax, I’m looking at you)! This recipe is free of animal products, but you could use beeswax if you wanted. Make a dozen tubes all at once, and you will be well-stocked for the foreseeable future. Or, be a doll and gift these puppies ⏤ your friends will love ya. Here’s how to make your own lip balm at home. Go on, you have literally no excuse not to.
What you need

This post contains affiliate links. This means I may earn a commission should you chose to make a purchase using my link.
Candelilla wax
- Natural vegetable wax extracted from the Candelilla plant
- Rich in nutrients and prevents moisture loss
- You can substitute beeswax here if you don’t require this to be vegan lip balm

Coconut oil
- Highly moisturizing
- Rich in vitamin E, antioxidants and fatty acids, it works to reduce inflammation and protect from free radicals
- Has antibacterial, antiviral and antimicrobial properties

Melissa essential oil
- Comforts breakouts, sun exposure and other lip irritations
- Soothing and healing
- Also known as lemon balm, but is not a photosensitive essential oil

OnGuard essential oil
- Supports healthy immune and respiratory function
- Supports the body’s natural antioxidant defenses
- Energizing and uplifting aroma

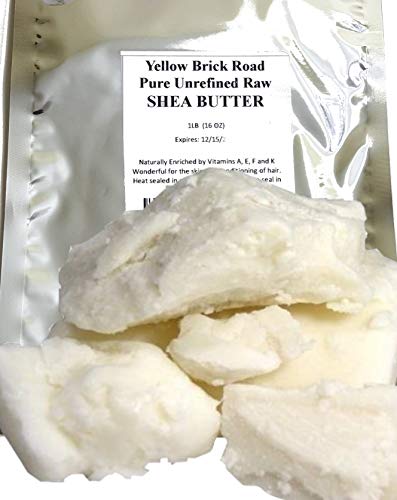
Shea butter
- Highly moisturizing, contains vitamins A and E
- Calms irritated skin
- Provides anti-aging properties
- Reduces stretch marks, scars and cellulite
Lip balm tubes
- I put off buying these for so long because I didn’t want to be stuck with so many lip balm containers, but they make great gifts, so share the wealth!
- They are also re-usable, so don’t toss them when you’ve run out of lip balm, just make some more and refill!

Heat-safe air-tight container
- I’ve repurposed a glass jar for this, so use what you have
- I try to repurpose old bottles and jars whenever possible, since it’s a great way to be more eco-friendly
- It doesn’t have to be glass (think ceramic, metal or stainless steel) ⏤ but it has to be air-tight and heat-safe!

Plastic pipettes
- Great for transferring liquids and precise measuring
- Work well for pouring hot wax and not burning yourself in the process
- Note: You may need to use more than one for this task, since the wax melts quickly

How to make
- Fill a lidded pot halfway with water and place on medium-low heat
- While the water warms, grab your heat-safe air-tight container and get ready to add:
- 2 tbsps of Coconut oil, 2 tbsps of Candelilla wax followed by 2 tbsps (or 1 oz) of Shea butter
- Secure the lid
- Now place the heat-safe air-tight container into the pot of warmed water add the lid back on until the wax and butter have melted
- Check on it every so often, and give it a shake to encourage it to dissolve, and be careful since the contents will be hot!
- Mine took 10 minutes to completely melt
- Once it’s fully incorporated, carefully remove the top
- Add 7 drops each of OnGuard and Melissa essential oils
- Stir to combine
- Use a plastic pipette to add the melted mixture into the lip balm tubes
- Be sure to fill as close to the top as possible
- Repeat until all lip balm tubes are full
- Allow the tubes to cool completely
- You’ll know they’ve cooled when the mixture turns from transparent to opaque in color
- Add the caps to the lip balm tubes
- All done!
Ways to use
- This recipe makes enough to fill a little over 10 standard sized lip balm tubes
- These make great gifts! Or make enough to last you a lifetime, I won’t judge
Did you make this recipe?
Tag @LAurenrdaniels on Instagram and hashtag it #LAurenrdaniels